Optimising Image Assets
Reducing the size your image assets using the image optimiser
Introduction
MFractor has a built-in tool that allows automatic compression of the image assets of your projects using the TinyPNG service. This automated optimisation tool allows you to quickly reduce the size of your assets and produce smaller application binaries.
Configuring TinyPNG API Key
MFractor relies on TinyPNG for optimizing the image sizes, an industry standard online image optimization service. For the optimization tool to work you should configure a API Key on the MFractor settings page. Creating an API is quick and straighforward. Head to developer API Page of TinyPNG service:
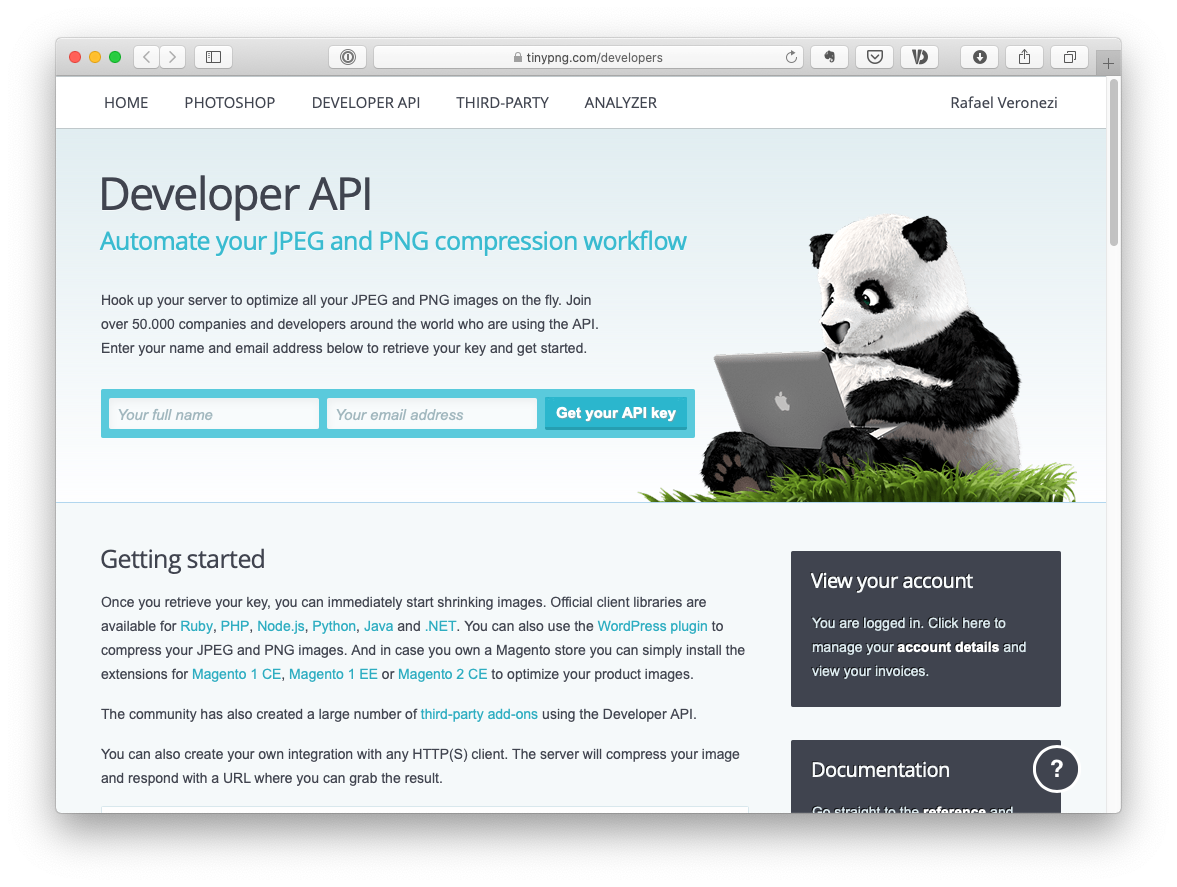
All you need to is provide your full name and email. A link will be sent to your address with a link to your Dashboard, where you will be able to copy your key and check the service usage.
Note
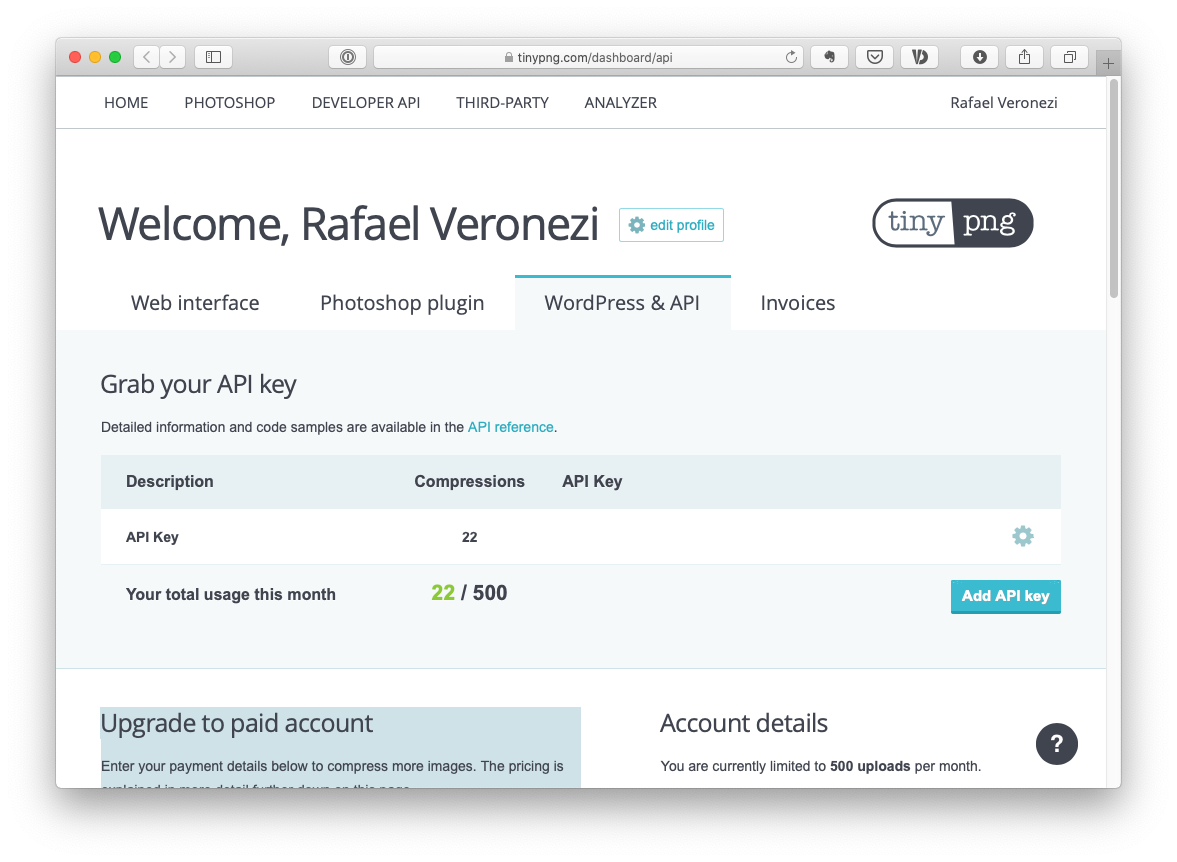
The TinyPNG offers a free tier that allows processing 500 images per month. After passing this limit you'll have to wait until the month to close or subscribe for a paid plan.
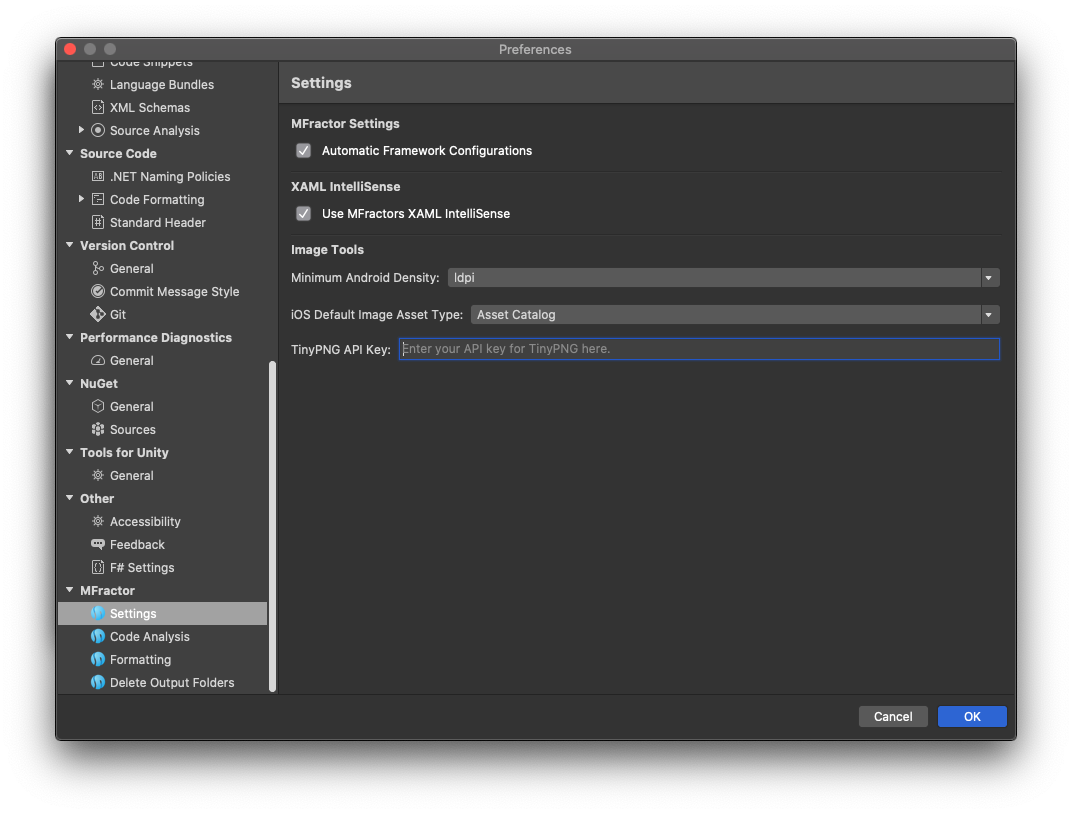
Copy the API Key from your Dashboard. Back to Visual Studio open the Preferences and go to the MFractor Settings pane. The last option on this page presents a field where you can copy your TinyPNG key.
Launching The Optimiser
The optimiser tool is avaiable through the Image Asset Manager pad/toolwindow. There you can invoke the optimiser on a single file, an entire asset or all the image files in the current solution.
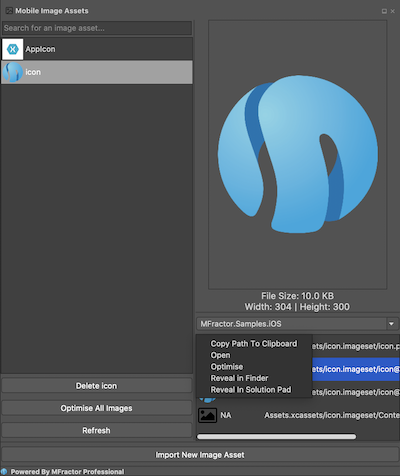
To optimise a single image file
Follow the steps to optimise a single image file:
- On the left-pane of the Image Asset Manager select the asset where the file you want to optimise
- On the right-pane below the preview, select the project where the file resides
- In the list below the project selection drop-down, select the file you want to optimise
- Right click on the file and select
Optimise
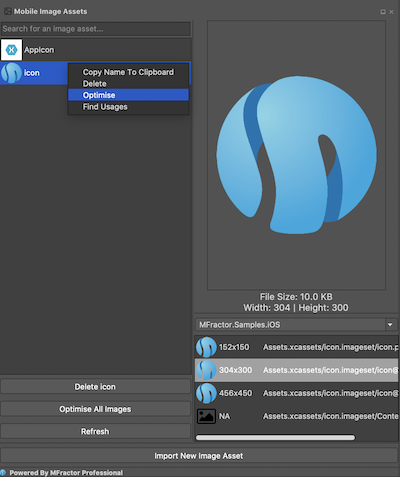
To optimise all files of an asset
Follow the steps to optimise all files that compose the image set of a single asset:
- On the left-pane of the Image Asset Manager select the asset you want to optimise
- Right click on the file and select
Optimise
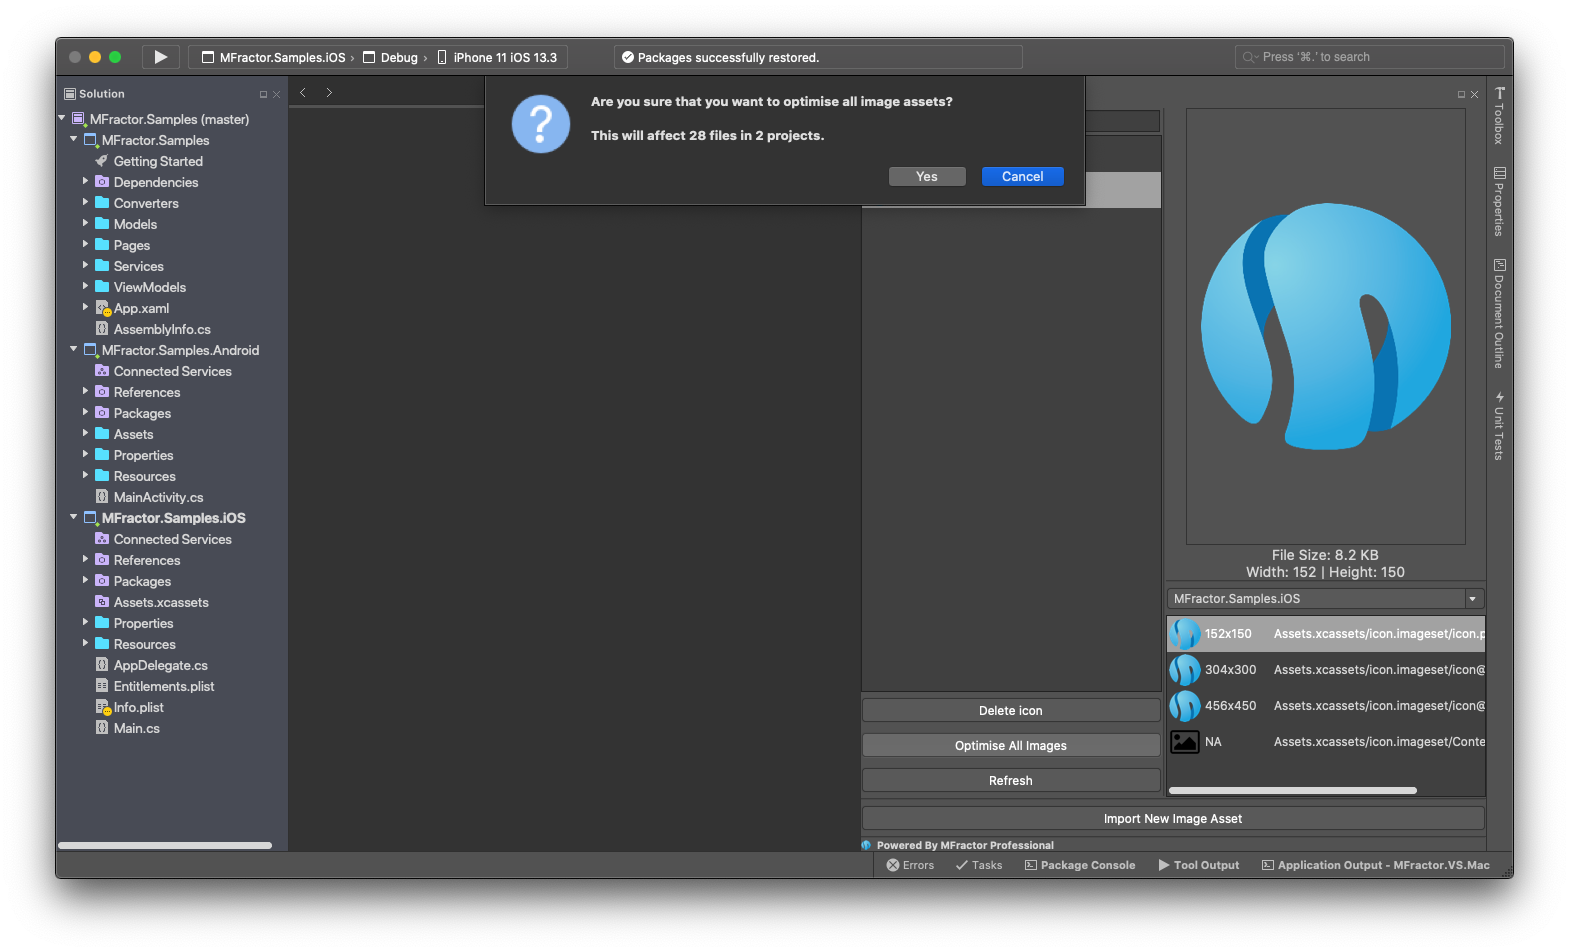
To optimise all images
To optimise all image files in the solution, open the Image Asset Manager and click Optimise All Images button, in the bottom part of the left-pane. MFractor will scan all images and present a dialog showing how many optimisation operations will be run for your project:
Track your TinyPNG API Usage
Always check if your TinyPNG service account has enough compressions credits left for the operations you're about to run. MFractor doesn't check service availability, so the compressions will run until your account run out of credits.
If you're using a paid plan, always check your usage before running compressions. TinyPNG bills monthly based on the usage that exceeds the free 500 compressions. MFractor doesn't provide any tool for managing usage or limiting the utilization so this should be managed directly by the end user.
Processing the files
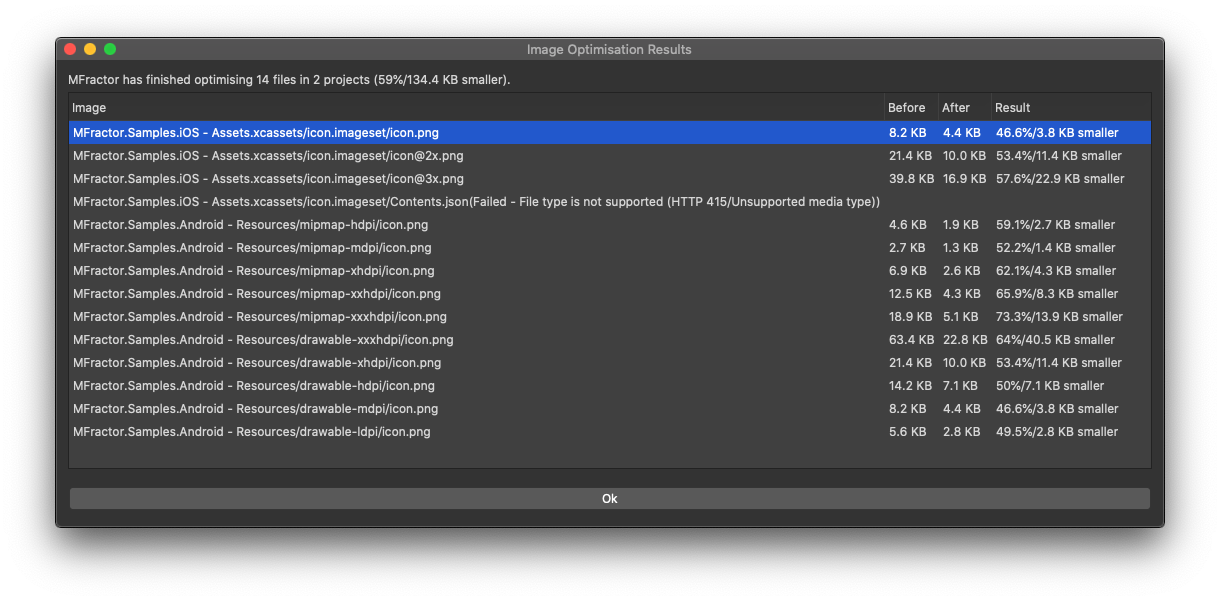
Weather you select a single file, an asset or all images, the processing is reported through a dialog:
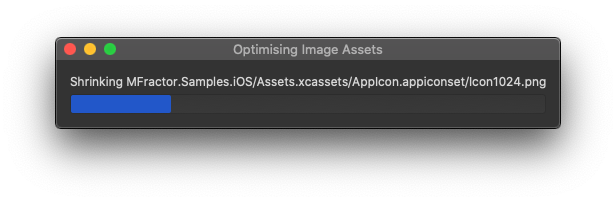
When the processing is completed, MFractor will display the summary of the optimisation, where you can check how much space has been saved by running the optimisation.